Tuesday, April 19, 2011

50th Birthday Cake

My son's aunt (his dad's sister; my ex-sister-in-law.  I hate calling her an "ex" because my ex's family is wonderful. I love them and they love us right back) turned 50 this week.  Unbeknowst to her, her father (Jake's grandpa) was planning a surprise 50th birthday party.  He and my two other ex-s-i-l's called me 3 weeks ago and asked if I would make the cake.  Of course!

I Googled pictures and found a cute design by the famous Pink Cake Box bakery that I decided to copy.  

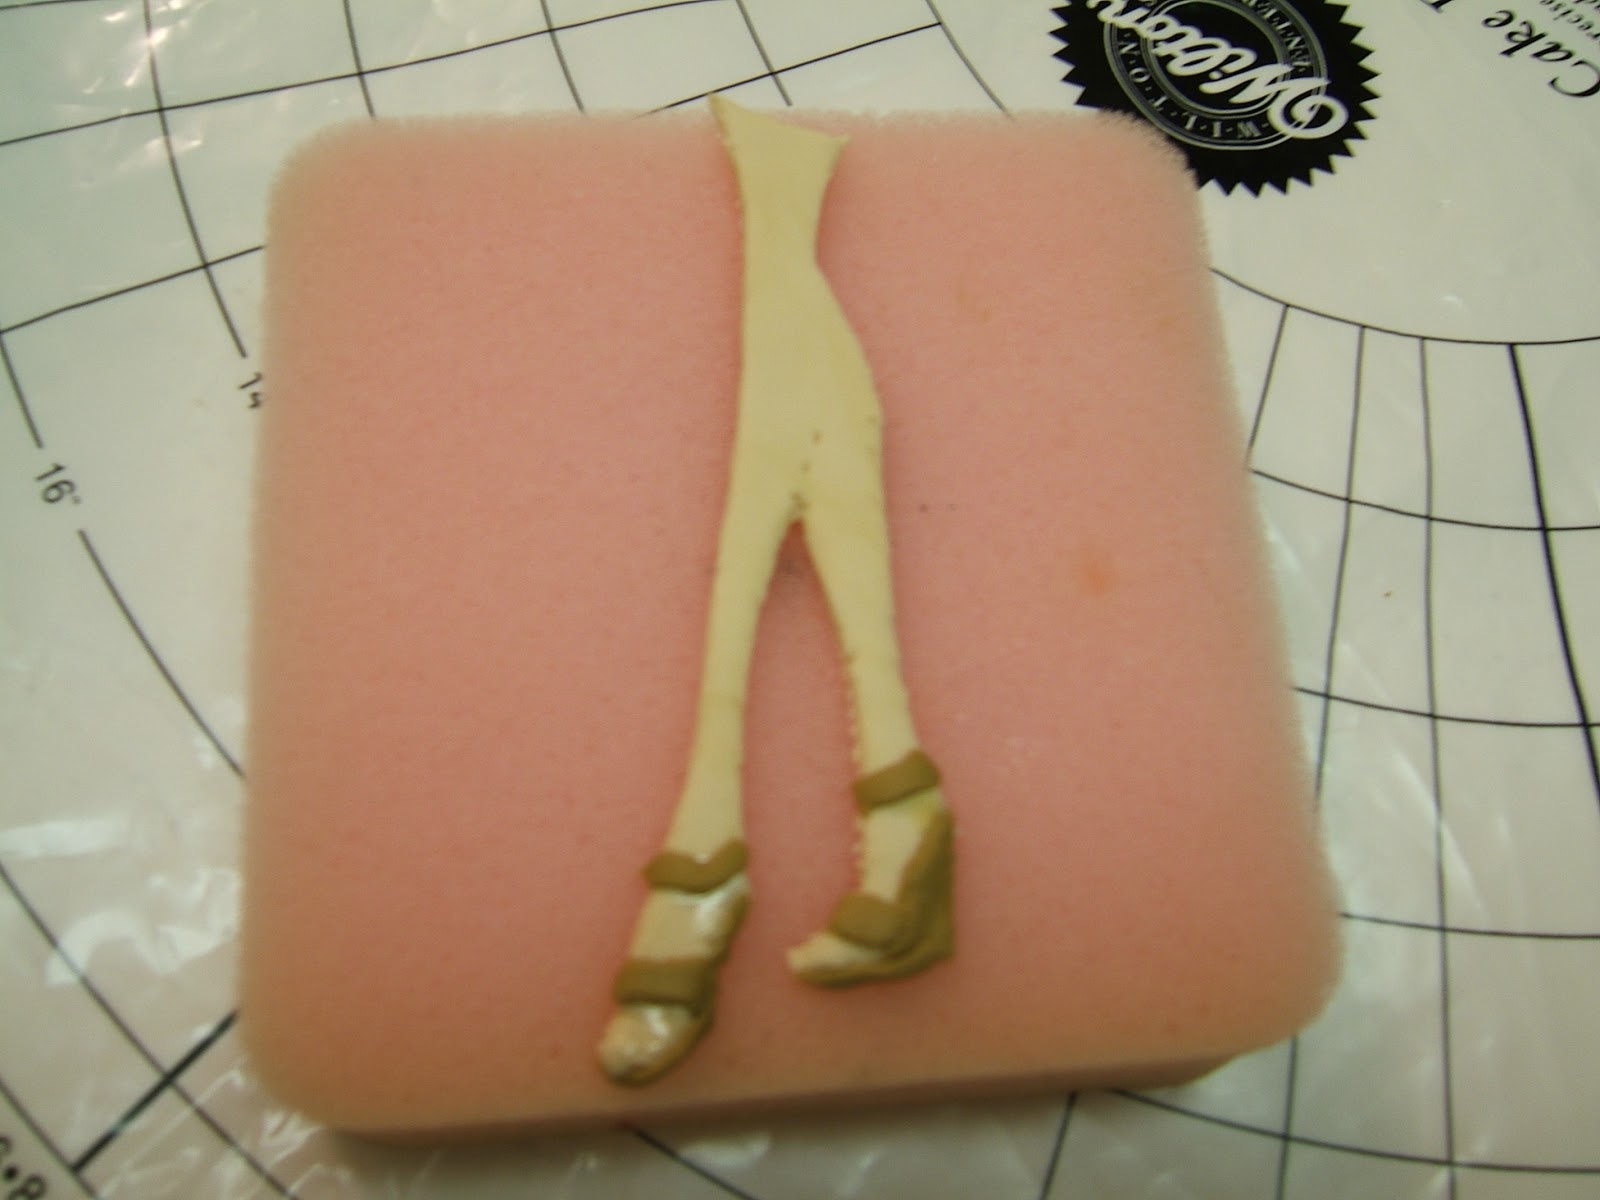
Three weeks early, I worked in the gum paste items that needed to dry and harden ahead of time. 

(My sister & son both asked "Why does it say 'So?'" LOL)

The Friday before the party, I took a vacation day and got to work.  I had baked the cakes Wednesday and Thursday nights.  Now it was time to put everything together.

I rolled over 100 fondant balls.

The top cake above, was a carrot cake covered
 in homemade marshmallow fondant.


The bottom cake was almond butter cake with buttercream, and fondant accents.  What you see above are spaghetti sticks propping up the bow while it dried on to the ribbon on the cake.  I pulled the spaghetti sticks out at the party.


I really liked how the topper came out.
 Then, the problems.

I did not dowel the bottom cake enough.  Carrot cake is definitely a denser cake than the butter cake.  I only put about 5 dowels in the bottom cake, and more towards the center, not nearer to the edges.  As time went on, we got droopage.

I was so bummed, but what could I do now?  Nothing.  Just learn for next time.  The bottom should have been the carrot cake, or I should have used more dowels.

You can see the drooping already.


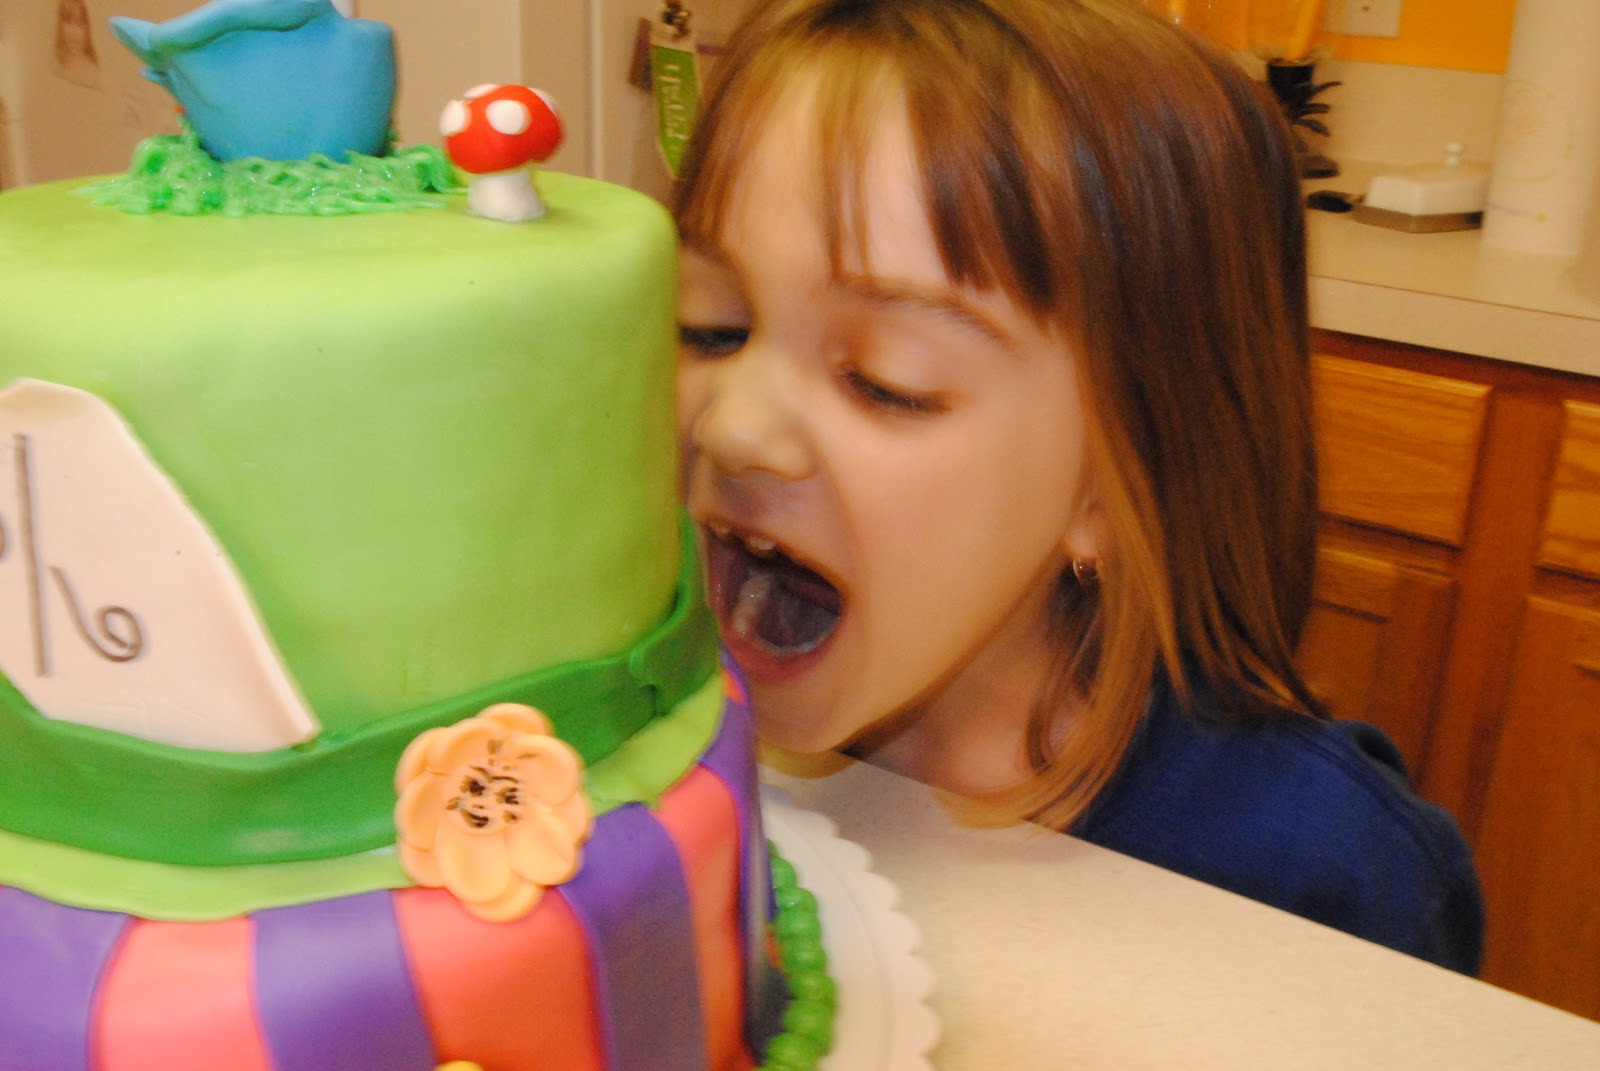
The party was great.  The birthday gal was totally surprised, and everyone raved about the cake, droop and all.


The Aftermath!


Saturday, April 2, 2011

Gumpaste Cut-Out; The Baby Shower Cake

After I made the frozen butter cream transfer of my sister's invitation, she and I talked about it.  In order for that exact-sized design to fit on the top of a cake, the cake would have to be baked in a 10" pan.  Since that would be the top level, and she wants a two-tier cake, the bottom tier would have to be 12".  We both agreed that would be too much cake for the small party.  I could try to make the woman smaller, but it was a lot of work and I had another idea; make the girl out of gumpaste. She would be 2D, not 3D.

I copied the invitation on to wax paper to use as my template.


Working with the X-Acto knife.  It was like putting a puzzle together.


Ta da!  
The only things missing are one earring (it fell off and I need to reattach it) and the gold chain of her purse, which will be done at a later date, closer to the shower, in yellow royal icing.

I will someone stand her up on the cake.  I am thinking of attaching a skewer to the back of her with gumpaste so it can dry securely, then I can insert the skewer into the cake. 

The party is April 30, so I will post the completed pictures right after the party weekend.
  

Sunday, March 27, 2011

Little Big Planet Cake

For my daughter's 7th birthday, I created a Little Big Planet cake, per her request.  The pieces were made way in advance.  The actual cake was made in a mad rush!  I did not count on there being a banquet for my son's Academic Team on the same night as I was to decorate the cake.

Below are some of the items I created based off the game and the Strategy guides we own.

One of my favorites with regard to how it came out.


I also created a Sack Boy.  I love how he turned out.


I baked a round Wilton Ball Pan chocolate cake and covered it in fondant.


I then added some random green "land mass" shapes, added all the little round discs I created and added the little Sack Boy to the top.

Cute!
Next, I iced two each 10" almond butter cakes.  This was where the rush came in.  It was 10 p.m. and I was still making butter cream. That plus my icing skills stinking and you have a not-so-much smooth finish.

I piped a shell border, added some lettering and decorated some cupcakes (I had extra batter) and voila! 


Saturday, March 19, 2011

Frozen Butter Cream Transfer: The baby shower invitation

I am making my sister's baby shower cake.  She showed me the invitation and I decided to try a frozen butter cream transfer (FBCT)  just to see if I could.  I have only tried it the one time, and it was a goopy mess.  I was much more successful this time.

This is the invitation I am copying.
If you want the image to be exact, you actually need to create a mirror image (kind of like I do when I am carving a stamp.)  If there are words, you definitely need to do a mirror image.  As there were no words, I decided to just leave it as-is.  The cake image will have the girl on the other side.

Take some wax paper, outline it in black or brown.  I chose brown because eventually, the cake this will go in will have chocolate frosting, and the brown will blend right in.  

After the outline, you have to do some logistical icing.  Things in the foreground (the lips, the sunglasses, the spots on the purse, the buckles on the shoes) have to be done first.  I was very unorganized and kept getting up to get more and more piping bags. 

Eventually, you'll have something that looks like this: 


Yes, it's ugly.  Notice you can't see her eyes, the spots on the purse, etc.  That's because what you are looking at above is what will go on the cake.  This is what will be stuck to the cake itself.  

What you don't see until I pick up the wax paper is this:


This is what will show once you freeze it, place it on the cake and peel the wax off.   It would look better if I have covered the whole thing is chocolate frosting, to match the cake.  The frosting would have "squished" or settled everything nicely, and it would match the cake it is going on.

You get the idea, yes?

I'm going to make the crib with the flowers too and just hand-pipe the mobile.  On the crib I will hand-pipe the cake's message.

I bet Buddy doesn't have to clean his *own* mess.

Tuesday, March 15, 2011

Oh Baby, Take 2


Take 2 was a little better.  Love this mold!


Monday, March 7, 2011

Oh Baby, Take 1

One of my younger sisters is pregnant.  It is a thing of wonder.  Pigs are flying, hell's looking for ear muffs.

I purchased an awesome baby mold  from Global Sugar Art.  I want to make my sister something special.  Don't worry.  She doesn't read any of my blogs.  Loser.

The Mold and Baby Take 1

You take gum paste, color it whatever skin tone you'd like, and place it in the mold.  Put it in the freezer for about 30 minutes, take it out and peel it out of the mold.


I had to let it "sweat" for a couple of hours.  Condensation makes it tacky to the touch. Unfortunately, I realized too late that I did not have the correct color petal/luster dust.  Grrr.  I decided to try thinned down gel colors.  Bad idea.  It made the gum paste tacky and looked bad.


The colors leaked and then I grabbed the wrong brush and brushed brown down her face.  DOH!  I gave the baby a rose for her hair, a ruffle diaper cover and made her some roller skates (this sister is on a roller derby team).

Well, this is why I practice!

On to take # 2!

Sunday, February 6, 2011

Down the Rabbit Hole (Alice in Wonderland Cake)

Red Velvet cake with cream cheese icing.  Fondant & Gum paste accents.

This looks like a scene from a horror flick.  Setting the pieces to dry overnight.


Carrot cake with cream cheese icing, covered in fondant.

Cake Monster!


Down the Rabbit Hole

"Off with their heads!"


The End.  :)